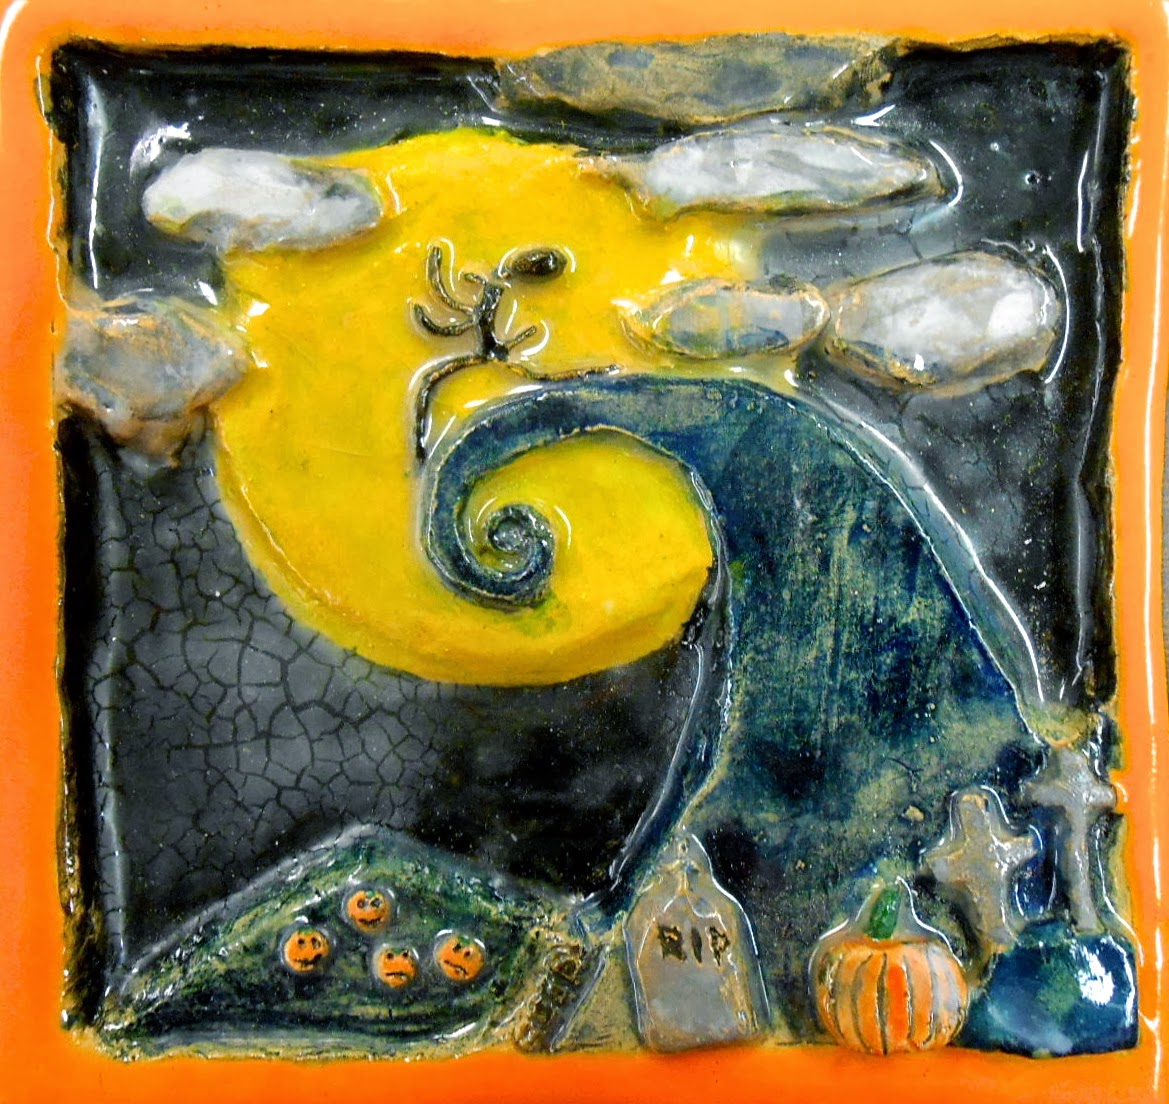
Students created low relief tiles that involved foreground, middle ground, and back ground while in some way incorporating overlapping.
Slabs were first rolled out to a 1/2" thickness and then cut to a 6"x6" square. Students then transferred a sketch they made two classes earlier onto the clay surface.
Over night I let the tiles sit in between two drywall boards to help them reach a leather hard state quickly.
For the next couple work days students started in their background removing clay. Once the background was cleared they moved onto middle ground and the finally the foreground.
Final details were added on the last days.
For glazing we used watercolor underglaze amaco paints and coated with a layer of clear transparent glaze.


wow, wow, WOW! what grade did these? what did they do the carving with?
ReplyDeleteYour project is admirable. I wish I'd know what you know about ceramics!
ReplyDeleteNeomi